In a renovation where we were replacing windows, we decided to step up the finish detail by adding window sills. We built a new fireplace mantel so we wanted something that would complement that character. We were replacing the existing windows so this was a good time to redo the window trim detail.
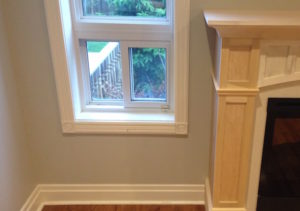
The first thing to do is to check that there’s enough room in the wall framing to allow a larger board to be installed at the base of the window. The wood on the inside of a window frame is called the window jamb. This wood is usually 3/4 inch thick. The new window sill is 1 1/4 inches thick so there needs to be a 1/2 inch more space below the window jamb.
The material for this project includes:
– 3/4 inch pine for side and top window jams
– 1 1/4 inch poplar for window sills
– window trim for the top and sides
– a second style of window trim or baseboard for the apron below the window sill
After the new windows were installed and the spray foam insulation was cut back, we can start to measure out the window sill board. Cut it longer than you need so it can be trimmed later to final length. The total length will extend approximately 3/4 of an inch beyond the width of the window trim once it’s installed.
Find the center of the window and the center of the window sill board and line them up. The first cuts will be to remove wood to allow the window sill to fit into the opening and touch the new window. Mark the sides of the wall studs where you will cut the board. Measure the distance from the window to the front edge of the drywall in several spots. Using the shortest measurement, subtract 1/2 inch and use this measurement for what to cut off of the window sill to create horns – the pieces that extend beyond the window opening, as shown in the video.
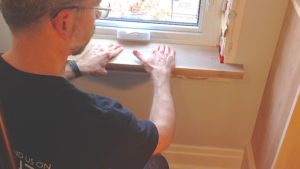 After you cut out the window sill, fit it in place and you will see there’s a gap between the window sill and the window. That’s intentional to allow for scribing the horns to the wall. Line up the window sill so there’s exactly the same size gap at either end between the window sill and the window. Using a compass and a sharp pencil, set the distance to match the gap. Run the compass along the wall with the pencil drawing a line on the window sill horns to get your final cut line. Once you trim the horns, you should have a nice fit at the window and the walls.
Level up the widow sill into position to measure and cut the window jamb parts. Assemble the window jamb and temporarily secure it to the window sill with screws, driven in from the bottom of the window sill. With this assembled and set in the window opening, you can determine where to cut off the window sill horns.
Hold a piece of window trim in place and mark the outside edge and the front face. You can now decide how much overhang you want on the horns beyond the outside edge of the trim and the front edge of the window sill.
After cutting the window sill to size, the last step is to shape the edge profile. In the video, this was done with a router and a table saw using an advanced technique. You can purchase a router bit to create a similar profile.
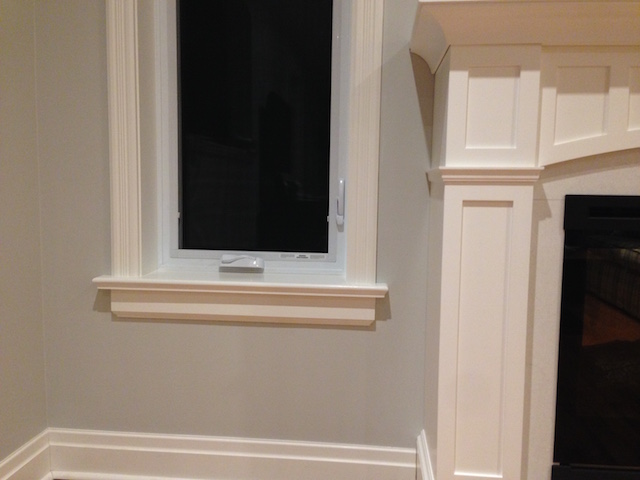 Adding an apron below the window sill does two things. It covers the gap between the sill and the drywall. It also visually balances out the look of the window trim. Find a nice profile from a piece of window trim or baseboard. The apron should line up to the outside edge of the window trim Above the window sill.
The apron looks best if the ends are not just cut square, but mitered with a return. In the video you will see how to cut, glue, trim, and install the apron.
We hope you find this helpful for your home improvement project. If you have questions, we’re happy to answer them. Just post a comment on the YouTube video.